
Appearance
Have your PDF, Word file, or image ready, and know who must sign versus who only needs a copy (CC).
- Open New request in the left nav (or start from a template).
- Upload your file. Word and images become a PDF for signing.
- Add signers and optional CC. Start typing to pick from Contacts if you have them saved.
- Choose how people share the file when you see How they share the file: Shared file or Separate copies (also called same file / individual copies). See Same file or individual copies.

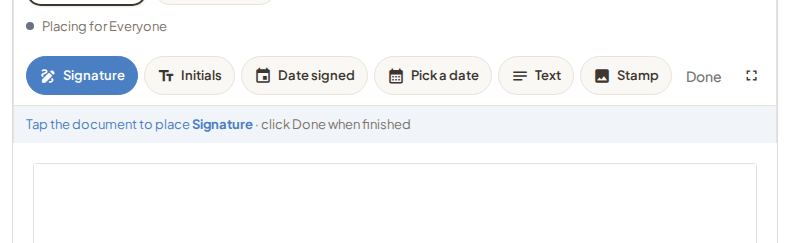
- Place fields on the pages. With one signer, Signature is ready—tap the page to place it. With more people, pick who the field is for, then tap.
- On Review, check the people and fields, set the deadline (default is 30 days from send), and optionally add a note in the invite email.
- Send.
Each signer gets an email with a secure link. Open the request anytime from your list to watch progress.
If something goes wrong
- Nobody got mail: double-check the addresses and spam folders.
- Wrong person: if they have not signed yet, Correct the request. If the file itself is wrong, Cancel, then Start a new draft.
- Hit a limit: see Quotas and limits.